


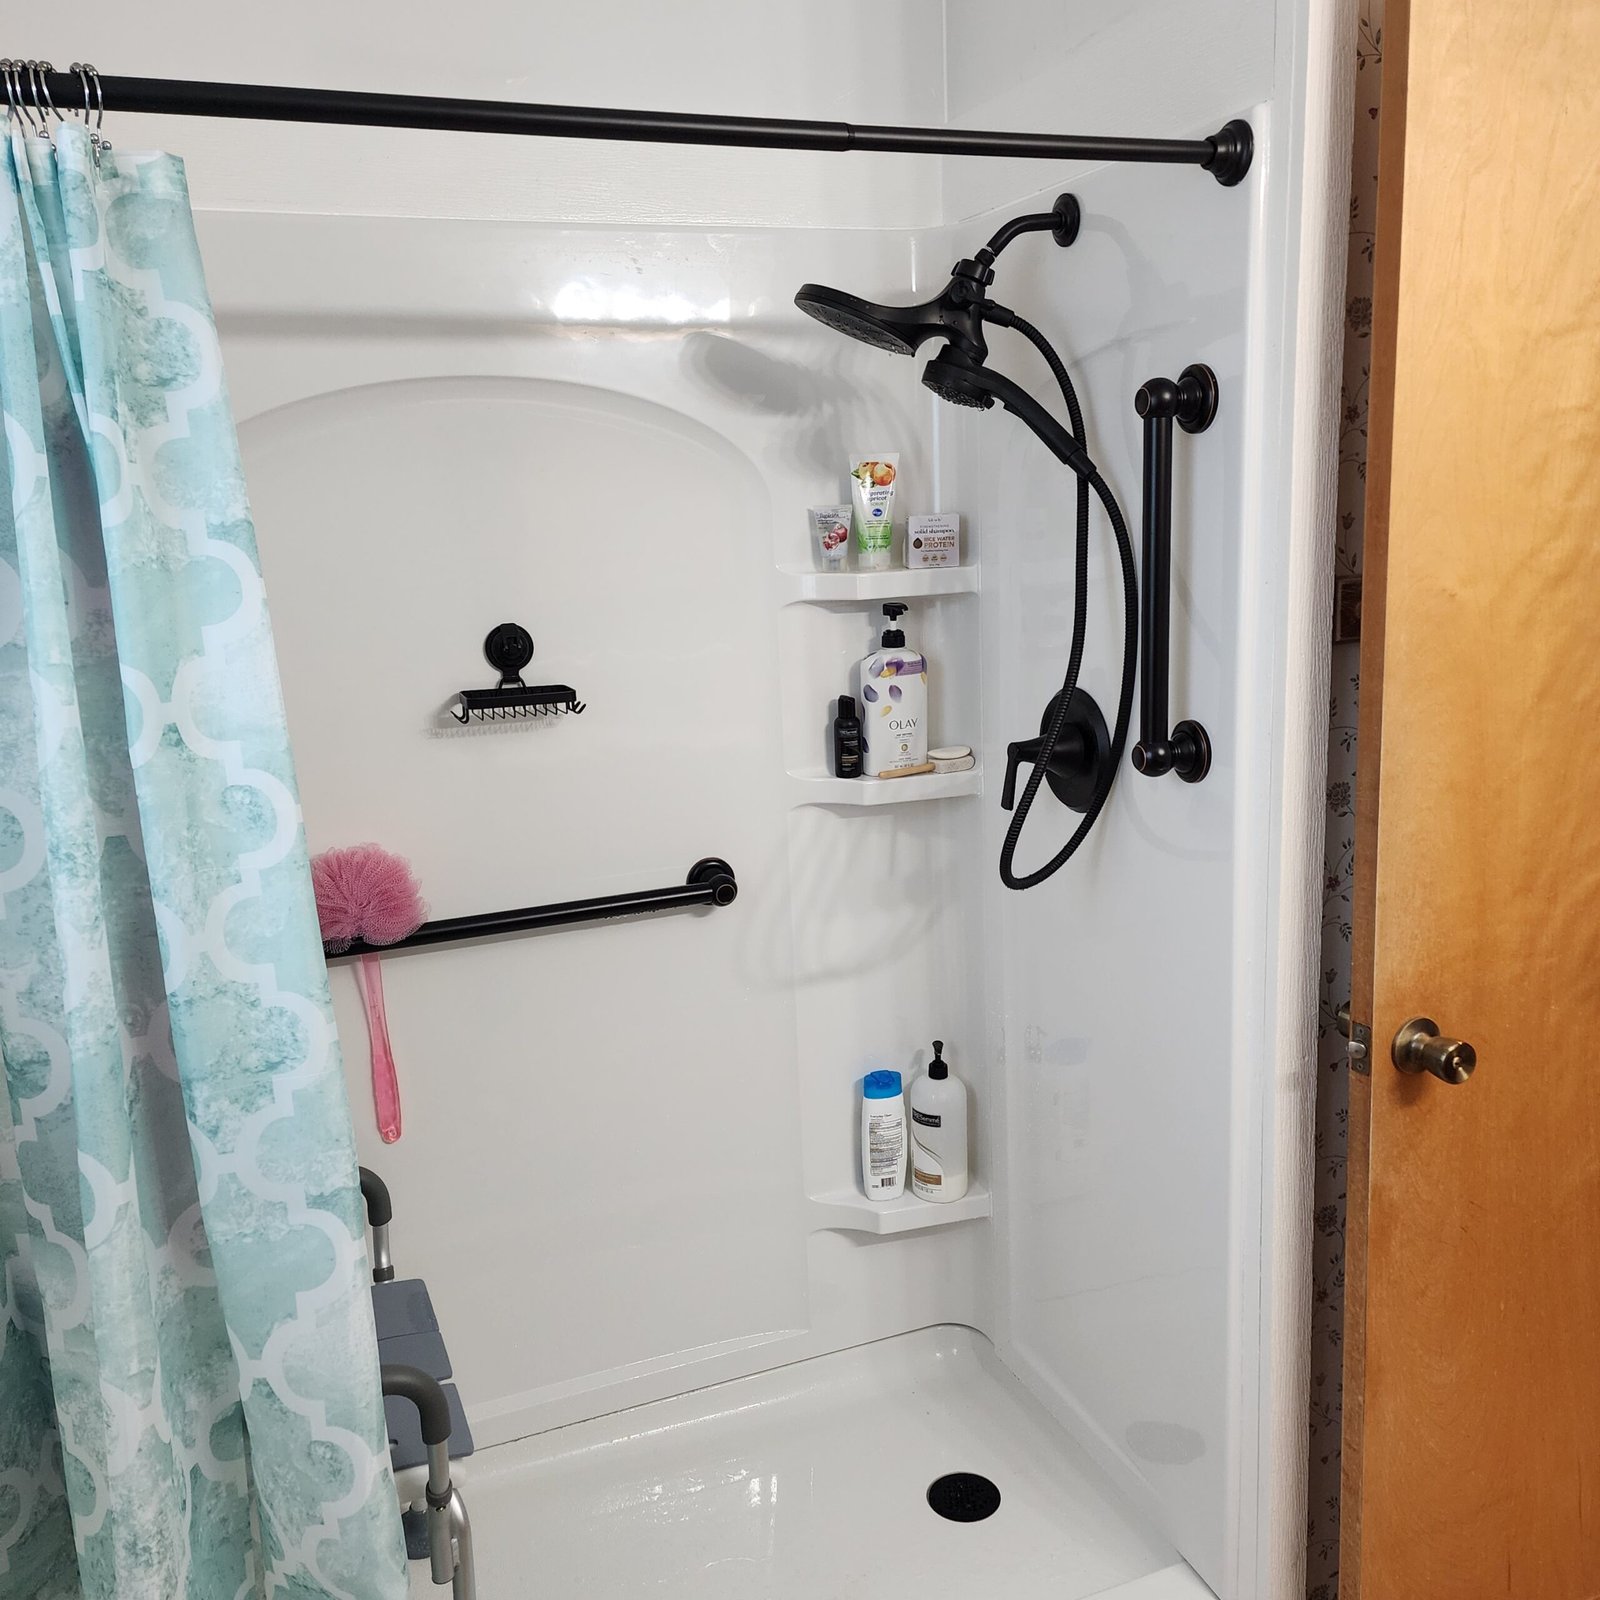
A grab bar is only as dependable as the complete attachment path behind it. The bar, screws or approved anchors, finished wall, cavity, and supporting structure must work together. Tile or drywall can hide wood studs, added blocking, masonry, an empty cavity, plumbing, wiring, damage, or a combination of those conditions.
EazyStep Bath evaluates the movement and the wall support together when planning grab bar installation for homeowners in its Lexington, Jackson, and West Tennessee service area.
1. Wall support is a complete load path
Pressure on a grab bar does not end at the metal flange. It travels through the mounting hardware and wall assembly into material that can carry it. If one part of that path is unknown or incompatible, the appearance of the bar does not settle the question.
The U.S. Access Board describes this chain directly in its guidance for covered bathing rooms. Its structural-strength provision uses a 250-pound vertical or horizontal force at any point on the grab bar, fastener, mounting device, or supporting structure.[1] That standard does not automatically govern every existing private home. It is still a useful explanation of why the bar and the wall cannot be evaluated as separate objects.
A wall may feel solid under a knuckle and still have no suitable support where the flange needs to land. The reverse can also be true. A hollow cavity does not by itself rule out every installation, because some named mounting systems are designed for specific hollow-wall assemblies. Compatibility must come from the exact product instructions, not from a generic claim about studs, tile, or anchors.
2. What may be behind the finished wall
Wood studs
Studs are vertical framing members. Their location, spacing, condition, and alignment with the proposed bar all matter. A stud near the desired hand position may not line up with every flange hole or bar length.
Added blocking
Blocking is support installed between framing members before the wall is closed. Its useful area depends on its dimensions, location, attachment, and condition. A note that “blocking was added” is helpful, but measurements or construction photos are better than memory alone.
Masonry
Concrete, block, and other masonry assemblies raise different fastener and condition questions. Voids, joints, deterioration, and concealed utilities can change where and how a mounting system may be used.
A hollow cavity
Cavity depth, wall thickness, and the material on each side can determine whether a specific approved anchor is compatible. “Hollow wall anchor” is a product category, not a universal installation method.
Repairs or damage
Old openings, soft material, moisture damage, separated layers, and poorly documented repairs can interrupt the expected attachment path. The support has to be evaluated in its present condition.
Plumbing or wiring
Pipes, valves, supply lines, drains, and electrical runs may occupy the same wall cavity. A proposed location can be comfortable to reach and still be unsuitable for drilling.
The visible finish remains relevant, especially for drilling and water management, but it answers a different question. The guide to grab bars on common wall surfaces covers tile, fiberglass, drywall, stone, and other finishes. This guide stays focused on what must carry the load behind them.
Have photos from an earlier remodel?
Construction photos, measurements, drawings, and notes about blocking can make an installation review more useful. They provide leads for the installer to verify rather than forcing the plan to rely on a guess.
3. An open wall creates a planning opportunity
When a bathroom wall is already open for remodeling, support can be planned before tile, panels, or drywall conceal it. Start by identifying the movements the bar may support and the range of useful hand positions. Then coordinate the selected bar, flange locations, framing, blocking, plumbing, controls, glass, trim, and wall finish.
Do not reduce the plan to one narrow strip of lumber before the bar and placement are known. A larger documented support area may preserve more flexibility, but its dimensions and attachment still need to match the design and applicable requirements. Record measurements from fixed references. Take clear photos before the wall closes. Keep the exact product instructions with the project records.
Those records do not replace a later check. They make that check better. Walls can change during construction, measurements can be misunderstood, and a future bar may use a different flange pattern. Label the photos by wall and orientation so someone can tell what they show years later.
4. A finished wall requires careful investigation
Most retrofit projects begin with the support hidden. An installer may review accessible wall edges, the opposite side of the wall, attic or crawlspace clues, known construction history, existing fastener locations, measurements, and appropriate locating methods. No single clue should be treated as proof when the consequences of a wrong assumption are serious.
Manufacturer instructions show why the exact product matters. In the Moen instructions reviewed for this article, both ends of the named grab bar must be positioned over wood studs unless the named SecureMount anchors are used.[2] That instruction belongs to the identified product. Another bar may use a different flange, hole pattern, fastener, or approved mounting method.
The SecureMount specification reviewed here lists particular wall assemblies and requires 3.5 inches of space behind the wall.[3] A cavity that is too shallow, a substrate outside the list, or a mismatch with the selected bar changes the answer. The existence of one approved anchor does not make every anchor acceptable in every wall.
Do not drill exploratory holes in a shower or tub wall just to see what is there. A penetration can affect the water-management assembly and may encounter concealed utilities. The review should narrow the unknowns first, then use a mounting method supported by current instructions and actual conditions.
5. Reconcile the useful location with the available support
Begin with the movement. Note where the person starts, where the hand naturally reaches, which direction force may be applied, and what objects limit access. The grab bar placement planning guide explains that first step. The comparison of horizontal, vertical, and diagonal grab bars explains how orientation changes use.
Then compare that useful zone with the verified mounting options. If they do not line up, the answer may involve a different bar length, orientation, location, approved mounting system, or planned wall work. Moving the bar to a strong but useless location solves only half the problem. Keeping it at a comfortable mark with an unsupported attachment solves the other half just as poorly.
Before approval, write down the exact bar model, mounting method, known wall structure, remaining unknowns, possible utility conflicts, and how the location relates to the person’s movement. This keeps a product substitution or field discovery from quietly invalidating the original plan.
Grab bar wall-support questions
Does every grab bar have to be attached to a stud?
No universal answer applies to every bar and wall. Some product instructions require wood-stud attachment. Some named mounting systems are approved for specific hollow-wall assemblies. Follow the current instructions for the exact bar and mounting system under consideration.
What is blocking behind a grab bar?
Blocking is support installed between framing members before the wall is closed. Its location, size, attachment, and condition affect whether it can carry the selected mounting system at the useful bar position.
Can a stud finder prove where a grab bar should go?
A locating tool can provide useful evidence, but it does not decide placement or prove the complete wall assembly. The installer still needs to consider the movement being supported, the exact product, wall materials, utilities, and the attachment path.
What records help when grab-bar blocking is hidden?
Dated construction photos, measurements from fixed references, plans, product instructions, and notes about later wall work can help. Treat those records as evidence to verify against current conditions, not as a substitute for an installation review.
Connect the hand position to the wall support
Ask Mike to review the proposed grab bar location
EazyStep Bath evaluates grab bar installation requests in Lexington and Henderson County, Jackson and Madison County, and nearby West Tennessee communities by appointment. The review considers the movement, selected bar, visible wall, supporting structure, mounting method, and remaining unknowns before the location is finalized.
See the grab bar service Call EazyStep Bath Send photos and notes
Sources and scope
- U.S. Access Board: Chapter 6, Bathing Rooms
- Moen: Grab bar installation instructions
- Moen: SecureMount Anchor product specification
This guide is educational. It is not a structural inspection, code determination, product approval, medical recommendation, or promise that a grab bar will prevent a fall or injury. Actual wall conditions, the person’s movement, current manufacturer instructions, and applicable requirements control the final installation plan.