


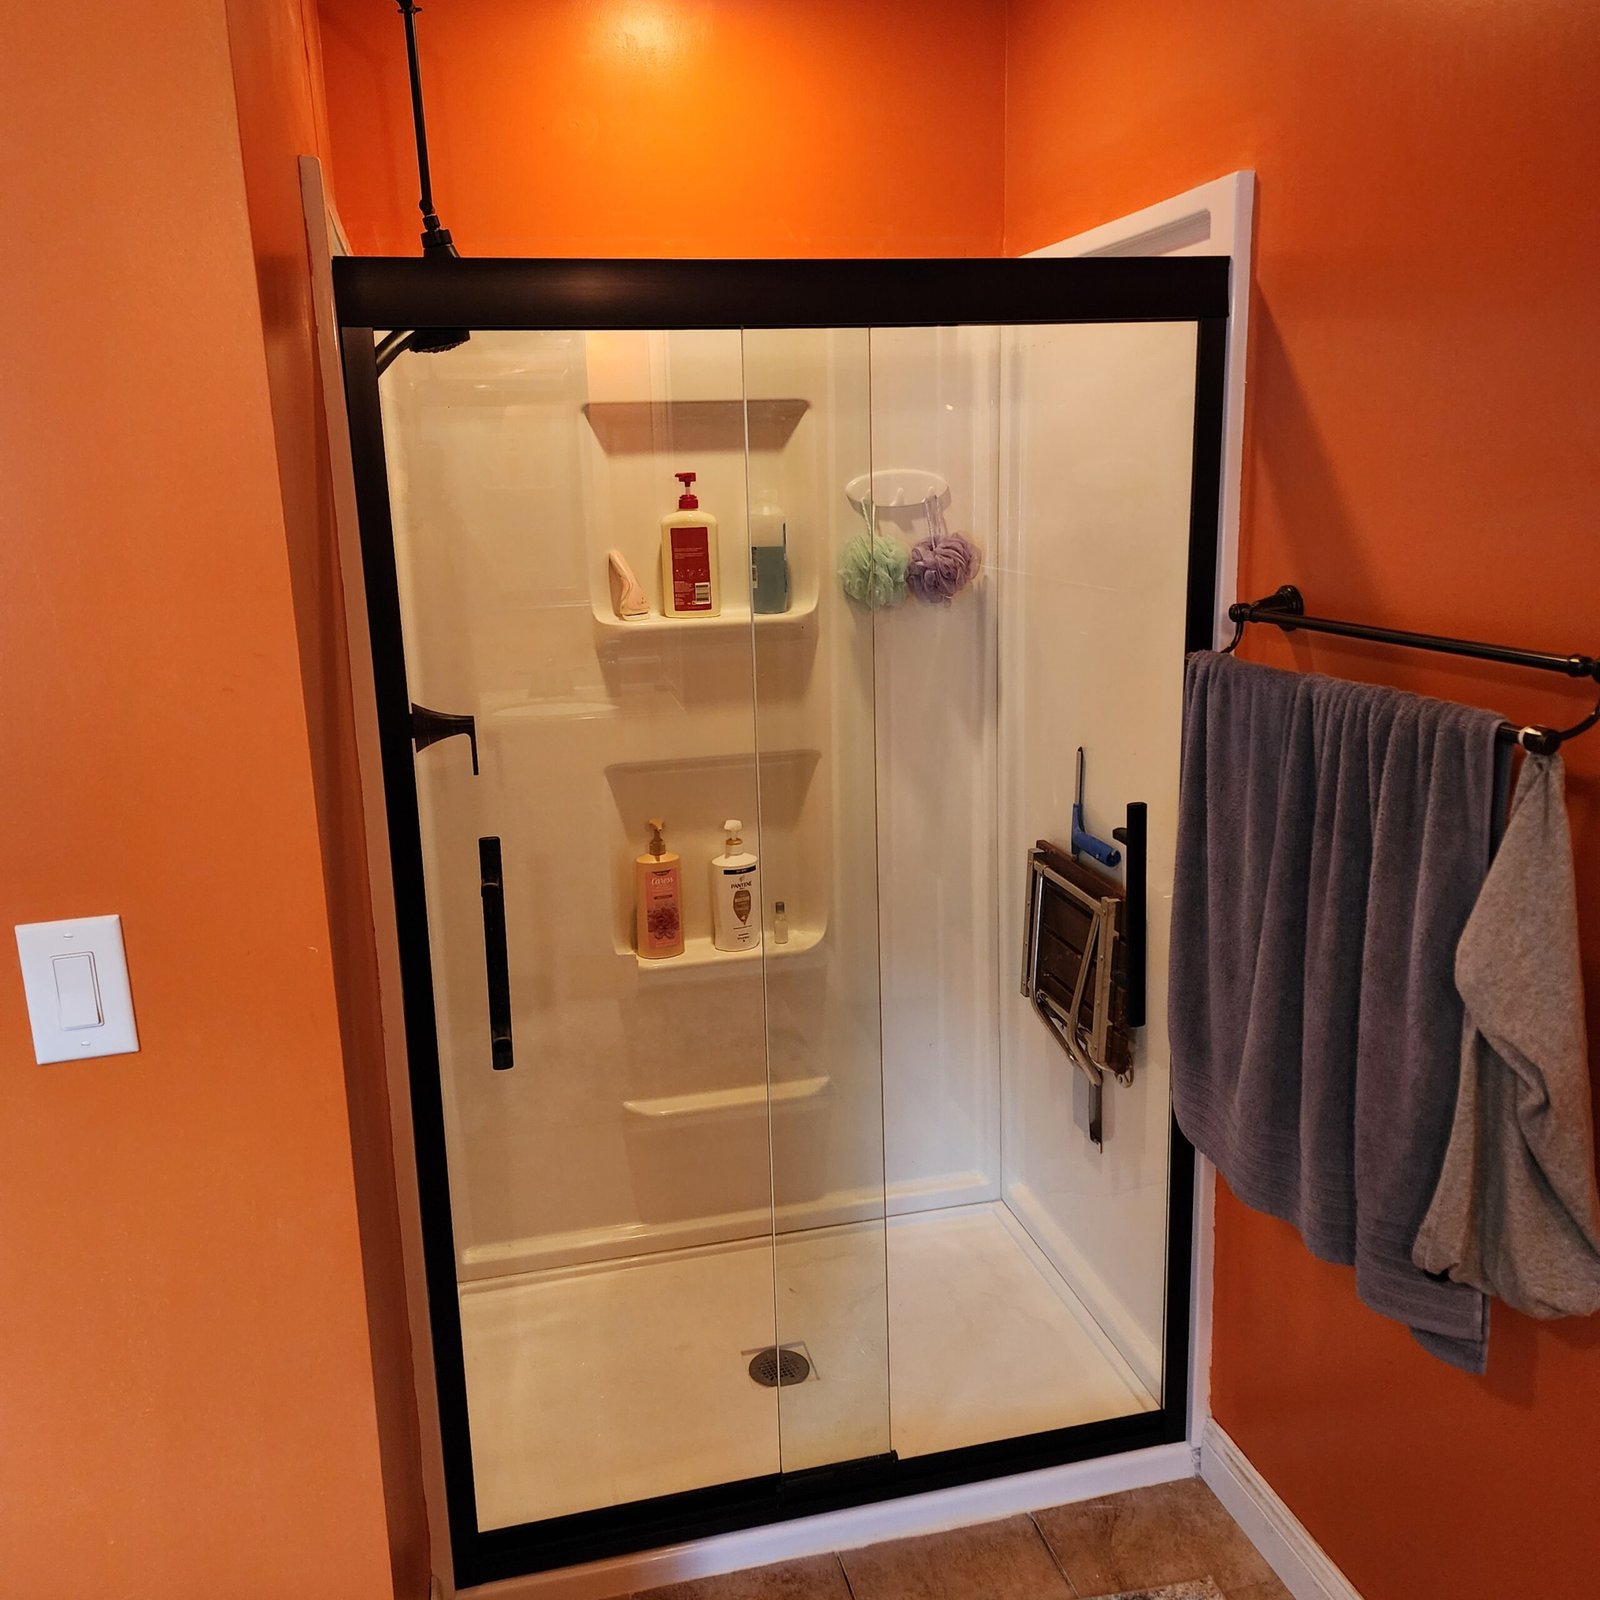
Measure a shower opening after the wall finishes are complete, recording the width at the bottom, middle, and top. Then record the available height, threshold depth, and any surfaces that are not plumb or level. Keep the individual readings rather than reducing them to one rounded door size. Basco and Delta both require measurements from finished surfaces; the exact product instructions determine whether a door fits.[1][2]
EazyStep Bath provides shower door and enclosure installation at customer properties by appointment in its Lexington, Jackson, and nearby West Tennessee service area. A labeled set of opening measurements helps explain the project before a door is selected, while final fit still needs review at the actual shower.
Start with the finished opening, not the old door
Basco says to finalize the tile or tub surround before measuring. Delta likewise calls for completed tile work or an installed acrylic surround and base.[1][2] If the shower is still being remodeled, label preliminary measurements as preliminary. Do not present a reading taken before tile as the finished opening.
Sketch the shower as viewed from the bathroom. Mark the left wall, right wall, threshold, and showerhead. Write down whether the opening is straight across or includes a return panel or angled section. Basco distinguishes an inline opening from an opening with a return and asks for face angles where glass meets a wall or buttress.[1]
An existing door can help identify what is there now, but its glass width is not the same record as the finished wall-to-wall opening. Keep old-door information in a separate part of the sketch. Do not remove glass or hardware just to complete this planning checklist.
Record three widths without averaging them
For a straight inline opening, follow Basco’s bottom, center, and top measuring sequence. Account for the tape-measure body if it forms part of the distance you are reading.[1] Label each reading on the sketch so someone reviewing the numbers can see where it came from.
- Bottom width: Record the finished wall-to-wall opening near the threshold.
- Middle width: Record the opening between the same finished wall surfaces at the middle.
- Top width: Record the opening at the intended upper door area, and note the measurement height.
Keep fractions and units legible. If a reading is uncertain, mark it for a repeat measurement rather than rounding it to a familiar product label. The practical purpose of separate readings is to preserve the variation that one average would conceal.
Delta warns that shower doors are sold by a rounded maximum width and usually have an installation range. Its example is a nominal 60-inch door with a maximum installation width of 59-3/8 inches.[2] That example is a reason to check specifications, not a rule for every door. Compare your recorded opening with the selected model’s actual range.
Check plumb and level separately
Use a level to check the walls and supporting surfaces, as Basco instructs.[1] Plumb describes vertical alignment; level describes horizontal alignment. Note the location and direction of a deviation rather than writing only that the opening is uneven.
Do not apply a general adjustment allowance to every shower door. Delta’s guide discusses its out-of-plumb allowance, while Basco discusses tapered fillers for some framed and semi-frameless installations. Both also direct the reader toward product-specific decisions.[1][2] A filler or an adjustable jamb is not automatic approval for the conditions in your shower.
Measurements do not agree?
Have the opening reviewed before choosing a door
Tell EazyStep Bath which readings differ, whether the finished surfaces are complete, and what kind of enclosure you are considering.
Request a shower opening review Review shower door installation
Measure height and threshold depth
Measure available height from the top of the threshold or tub deck to the top of the tile or surround. Basco separates that maximum available height from a requested door height. Record both if you have a preference, but do not treat a preference as a confirmed fit.[1]
Delta also calls for threshold depth measured front to back, edge to edge. Its guide notes that installation clearance height matters because glass panels may need room to angle into position.[2] The finished door height and the space needed to install it are therefore different checks.
Add a note about nearby obstructions and the intended door movement. For a comparison of swing clearance and sliding-door entry, use the sliding versus pivot shower door guide. This measurement sheet supports that decision without replacing the room-layout review.
Shower curbs and thresholds: keep the measurements separate
For the door-fit discussion, label two different directions on your sketch: the opening width runs between the side walls, while threshold depth runs from the bathroom side toward the shower. Delta calls for a front-to-back, edge-to-edge threshold measurement in addition to the horizontal opening measurements.[2] Writing only “curb width” can leave the person reviewing your notes unsure which direction you measured.
Make a separate threshold record rather than adding another unlabeled number to the drawing:
- Finished depth: Record the front-to-back measurement and the units. Mark exactly where you took it.
- Surface observations: Note visible edges, joints, trim, or old hardware that you want the installer to examine. Do not remove a track or disturb glass to expose a measuring point.
- Alignment: Keep the level check separate from the depth reading. Basco asks for level and plumb checks as part of measuring the opening.[1]
- Product question: Ask which threshold measurement and mounting conditions the proposed model requires. Delta directs buyers to the specific product installation guide because required measurements vary.[2]
A front-to-back reading is a measurement of the existing surface, not confirmation that all of it is suitable for the selected hardware. Keep the measurement and the compatibility decision in separate boxes on the planning sheet. Ask the installer to identify the applicable requirement in the exact manual before you order. This checklist does not set a universal minimum curb depth or authorize drilling, grinding, or changing the threshold.
For an enclosure with a return, keep the front-to-back depth separate from the enclosure centerline. Basco instructs buyers to measure return openings at the center of the curb and to record the face angles.[1] Ask for a labeled drawing if those references are unclear. Do not substitute the inside or outside edge measurement for a requested centerline measurement.
If the threshold condition or product requirement is still uncertain, leave it marked for review. A complete-looking sketch is less useful than one that clearly identifies what has not been confirmed. The guide to uneven shower openings explains the separate alignment discussion.
Keep mounting and return-panel questions on the sheet
Delta says most of its shower and bathtub door systems require side-wall studs and tells buyers to check stud locations before purchase.[2] Width measurements cannot establish that hidden support exists. Record known construction details and leave uncertain support marked as unverified. Do not drill exploratory holes as part of this checklist.
For a return panel or angled enclosure, a single front width is incomplete. Basco specifies centerline measurements at the curb for returns and records face angles from the centerline to the inside wall.[1] Keep the sketch, but have the enclosure geometry confirmed before an order. Do not adapt a straight-opening worksheet into a custom-glass cut list.
What to have ready for the installation discussion
Bring the labeled sketch, separate width readings, height, threshold depth, and any plumb or level notes. Include the showerhead position, whether finishes are complete, and the exact model number if you have already identified a possible door. Keep unknowns visible, especially concealed support and unfinished surfaces.
The next decision is whether that product matches the opening and the room. The shower door selection guide covers the wider fit review, including mounting conditions and operating space. This article supplies the measurement record for that review rather than choosing a door from width alone.
Shower opening measurement questions
Should I measure before or after the tile is installed?
Take final measurements after the tile or surround is finished. Earlier readings can support planning, but they are not the finished opening dimensions.
Why measure the shower opening in three places?
Bottom, middle, and top readings preserve differences across the opening. Keep each reading labeled instead of averaging them into one width.
Is the size on the shower door listing its exact fit width?
Not necessarily. Delta explains that doors may be sold by a rounded maximum width and have a separate installation range. Check the exact model specifications before ordering.
Do my measurements confirm that a shower door can be installed?
No. Finished dimensions are part of the review. The selected product must also suit the wall support, threshold, alignment, installation clearance, and enclosure layout.
Is threshold depth the same as the shower opening width?
No. Threshold depth runs front to back, while opening width runs between the side walls. Label both measurements and compare them with the instructions for the exact door model.
Measurement guidance for these answers comes from the manufacturer references below.[1][2]
Plan the door around the opening
Discuss your shower door project with EazyStep Bath
EazyStep Bath serves Lexington, Jackson, Henderson County, Madison County, and nearby West Tennessee communities by appointment. Bathroom work is performed at the customer’s property. Tell us what is installed now, which measurements are confirmed, and what you want to change.
Explore shower door installation Ask about your opening Call (731) 506-1336
Sources
Manufacturer guidance reviewed October 3, 2026. Use the current instructions for the exact product selected.